We remain fully operational. Our teams are working around the clock to ensure your deliveries continue safely.

DOWNLOAD THE APP


Customer Services
Copyright © 2025 Desertcart Holdings Limited
DOWNLOAD THE APP


Buy anything from 5,000+ international stores. One checkout price. No surprise fees. Join 2M+ shoppers on Desertcart.
Desertcart purchases this item on your behalf and handles shipping, customs, and support to Honduras.
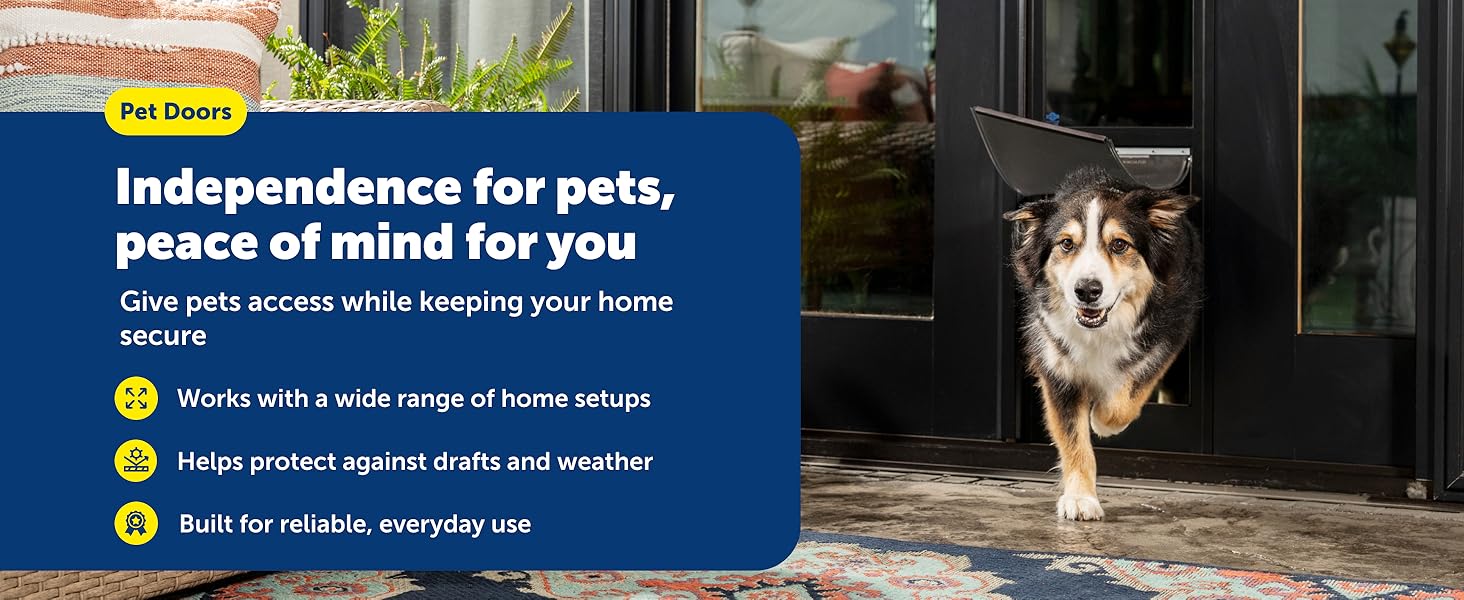
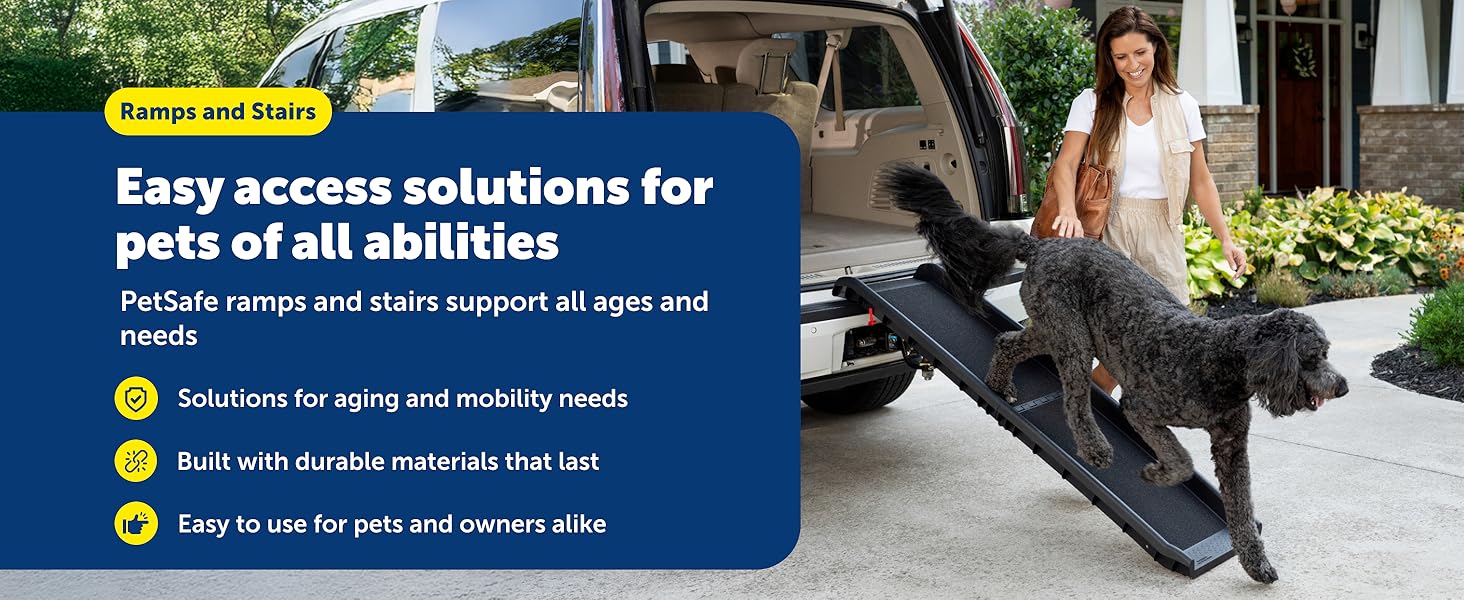
🐾 Unlock freedom and style for your medium dog—because your pet deserves the best!
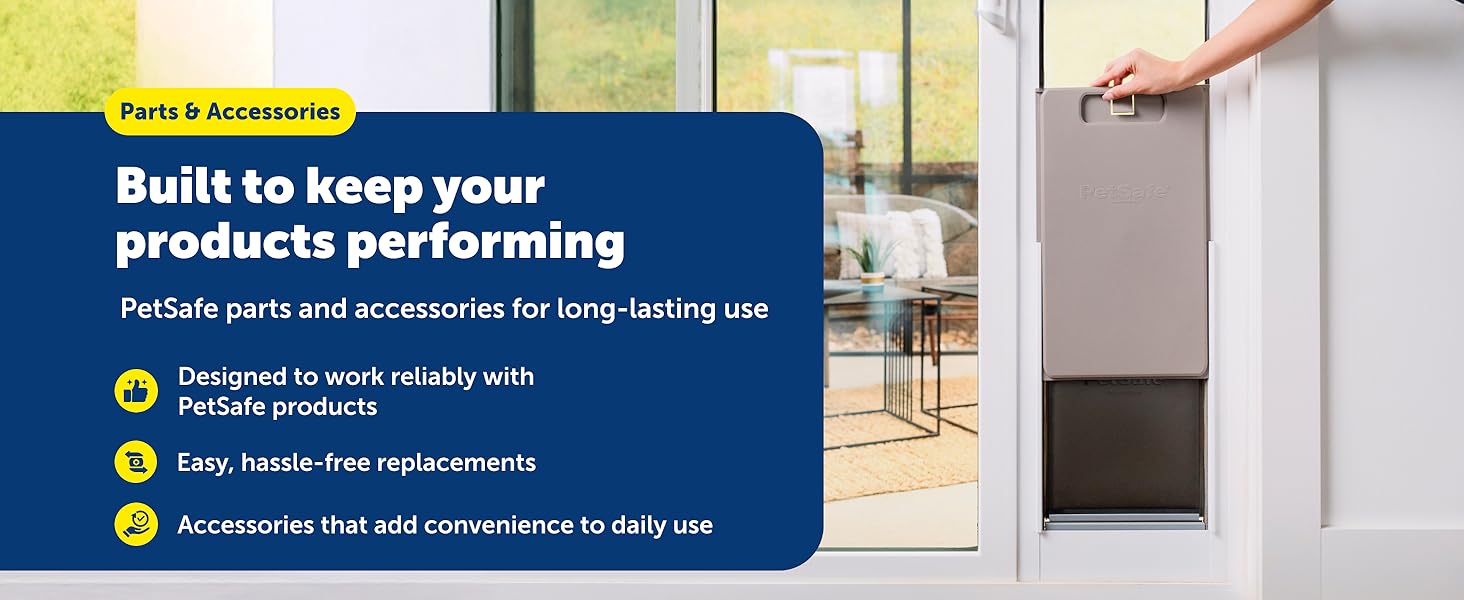
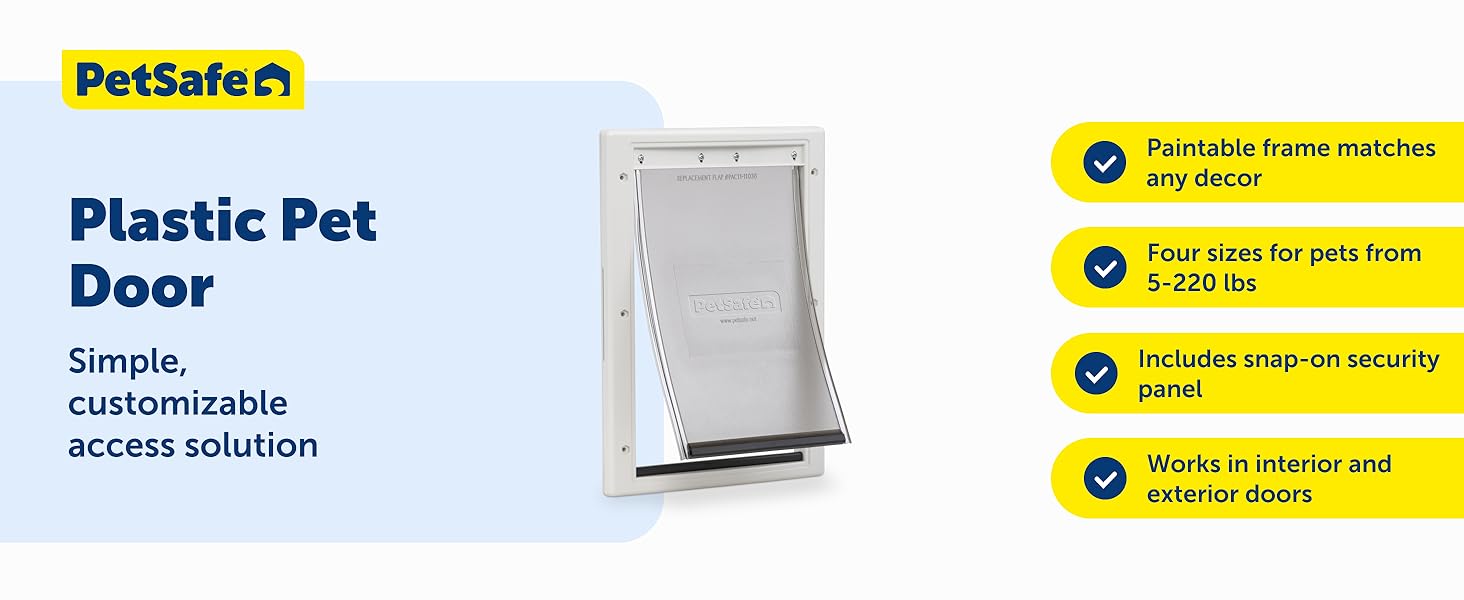
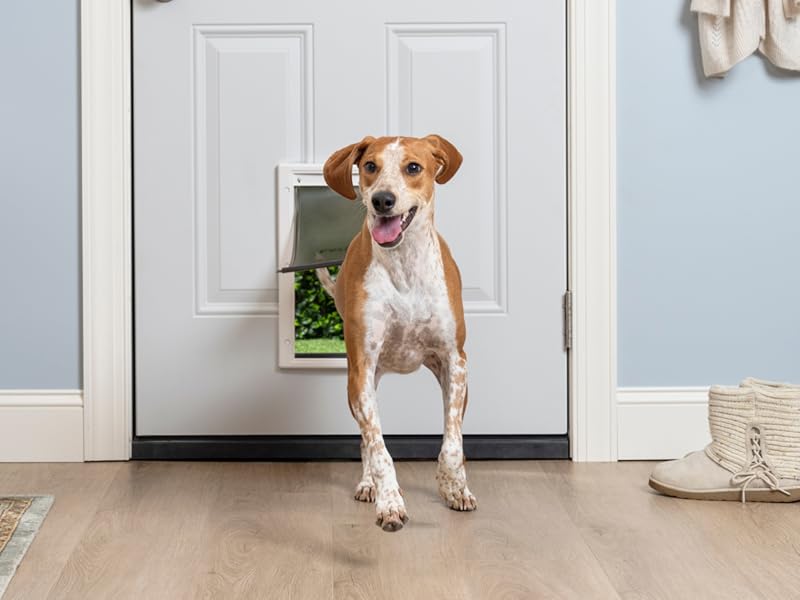
The PetSafe Plastic Pet Door offers a rust-free, paintable plastic frame designed for easy DIY installation on wood, PVC, metal, and paneled doors between 1/16" and 2" thick. Its weather-resistant, smooth-swing flap measures 8 1/4" W x 12 1/4" H, ideal for medium dogs up to 40 lbs. Featuring a lockable slide panel for secure access control, this durable pet door combines functionality with customizable style, backed by over 25 years of trusted PetSafe expertise.


| ASIN | B0013DJFQS |
| Best Sellers Rank | #1,919 in Pet Supplies ( See Top 100 in Pet Supplies ) #1 in Dog Doors |
| Brand Name | PetSafe |
| Closure Type | Flap,Snap |
| Color | White |
| Customer Reviews | 4.4 4.4 out of 5 stars (21,812) |
| Dog Breed Size | Medium |
| Frame Material | Metal,Plastic |
| Global Trade Identification Number | 00729849109674 |
| Included Components | Cutting template, Exterior frame, Hex nuts, Interior frame with flap, Nylon screws, Plastic core covers, Product manual, Snap-on cover |
| Item Type Name | PetSafe® Plastic Pet Door |
| Item Weight | 2.5 Pounds |
| Manufacturer | Radio Systems Corporation |
| Manufacturer Part Number | PPA00-10959 |
| Manufacturer Warranty Description | Limited lifetime warranty when purchased from a petsafe authorized retailer. For more information, please visit the petsafe store. |
| Material Type | Plastic |
| Maximum Compatible Thickness | 2 Inches |
| Minimum Compatible Thickness | 0.06 Inches |
| Model Number | PPA00-10959 |
| Size | Medium (Pack of 1) |
| Target Audience | Dogs |
| UPC | 729849109599 729849109674 |
| Unit Count | 1 Count |
| Weight Capacity Maximum | 40 Pounds |
C**E
Large pet door
Great dog door! It’s the perfect size for our Great Dane and fits just right. It feels sturdy and well made, and installation was straightforward. Our dog learned to use it quickly, and it has made things so much easier for us. Very happy with this purchase.
A**R
Pet door
I’m very impressed with this dog door. The installation was incredibly straightforward thanks to the thorough, easy-to-follow instructions. It has a clean, high-quality look once installed and functions perfectly. A great DIY project with professional results!
J**N
Simple, easy, works great
Super easy installation—very straightforward. Cut the opening, insert the door, and you’re good to go. I installed it through a single‑layer steel garage door with foam insulation, and the process was smooth. The only downside is that it comes with plastic screws/bolts paired with stainless steel nuts. Two of the plastic bolts snapped while tightening, so I’ll be replacing them with stainless steel hardware soon. Other than that, the installation and overall quality are solid. *Bought the Medium size for this large Orange Cat, perfect size.
A**R
Great doge door
Installed and already used by dogs
D**K
Nice quality
Good quality pet door. Works well for cats.
S**R
Keeps critters out, allows cats in the barn
This door was very easy to install, I did it in less than 30 minutes. I put it on the side of our barn so I didn’t have to remove the door. We have had it in place for a cottage months now and our outdoor cats have transitioned very well, it keeps the wild critters out of the barn, and it holds up very nicely. The flap is easy for the cats to go through- cats of all ages- from 6 months to 5 years old. The magnet keeps the glass closed and the draft out and it fits very well. We had a small gap because we didn’t install it on a flat surface, but covered it with caulk and it’s been a perfect fit/fix.
A**N
Not as easy as the competitor to install
I am in a unique position to compare/review 2 brands of large size dog doors. I have recently installed 2 dog doors, one was this brand, Pet Smart, The other brand was BarksBar. Competitively priced. The BarksBar was much easier to install. Once installed both doors worked well. I prefer the BarksBar for 3 reasons. 1. The BarksBar template for cutout was thick plastic, making it easy to trace around. Pet Smart you had to cut out the paper template to size, Then try to trace around the flimsy paper. 2. The 'tunnel' between the inner and outer shells on the Pet Smart was mickey-mouse, hard to cutout and hard to install. The 'tunnel' was 4 pieces of hard plastic you had to cut to the correct width. Better bring some tin-snips for this job, the hard plastic will defeat most scissors. Once 4 pieces are cut you have to tape them into one side of the door and try to align them (blind assembly) into the other 1/2 shell as you install the 2 sides into the door. You had better get some help to work both sides of the door. BarksBar had a telescoping design that was easy to install. 3. The Pet Smart closing panel just snapped on, and was hard to remove. The slide-in BarksBar was more sturdy and easier to remove. One further note. The Pet Smart panel can be installed on very thin panels on your door, but you must still cut the hard plastic tunnel pieces. The BarksBar needs a minimum 1.25 inches for the telescoping panel. So if you have a thin panel to install into, go with Pet Smart.
I**K
Simple installation and great for a bedroom door.
We have 7 dogs and they range from 20 pounds to around 110 pounds. They all come through the door just fine. Even the 110 pounder has lots of extra room to fit through. I have installed many doggy doors throughout my house and in both of my outside doors. This certain doggy door is great for an inside door. For outside doors, I use weatherproof doggy doors. The flaps are heavier and most normal winds will not blow them open. To install the door, I did the following: Remove the door from the door frame and lay it on saw horses or whatever you have to work on. It needs to be at least a foot off the ground to complete the install. Mine was about 3’ off the ground. This keeps you from having to bend over so far to work on it 1. I measured the height of my largest dog standing at her shoulders, then added 2” to give a little extra clearance. I took a pencil and made a light straight line across the door at that point. 2. Next, I measured the width of the door and marked the center from the top line down to the bottom of the door. 3. Next, I laid out the stencil, that comes with doggy door, and lined the center arrows up with the center line on the door and the top of the stencil with the top line I made going across the door. I held the stencil in place with some masking tape. 4 little pieces will do the trick. 4. Next, I traced around the stencil with a black sharpie. This makes it easier to see where to cut the door out. Don’t worry about the black lines, what’s left of them will be hid by the frame of the doggy door. Remove the stencil when done. 5. Next, I used a 1/2” drill bit and drilled a hole inside each of the corners of my lines, getting as close to the corner lines as I could. 6. Next, I used a jigsaw and cut out the hole for the door. Stay on the lines as best as you can and make sure the foot of the jigsaw is flat so your cut will be straight through to the other side. When I got both sides and the bottom cut, I used a screwdriver to hold the bottom of the piece I was cutting out so it didn’t fall when I cut the top. If it falls before the cut is finished, it could break off a piece of the main door. That will make it look bad with a chunk missing out of the main door when you are finished. 7. Next, measure the thickness of the main door and write it down. Add 7/8” to that measurement. My door thickness was 1 3/8”. I added 7/8” to that and got 2 1/4”. That is how wide I cut the plastic spacer pieces that went between the frames of the doggy door. Try to be as accurate as possible with this. I used a utility knife to cut the spacers. Take your time so you can make straight cuts. Make several cuts on the same line, then fold it over and it will break apart on the cut line. 8. Slide the plastic pieces into the slots of the front frame section. Push them in tight. Set the frame in the cutout section of the main door. Then, install the back frame section by lining up the plastic spacer pieces with the frame slots and hold them tightly together. My wife helped me with this part by holding the frames together as I installed the plastic screws and nuts in the frames. I put the top center one in first, followed by the bottom center one. Slightly tighten these 2 but not too tight, you may have to adjust the frame position. After that, she didn’t have to hold it any more. I installed the rest of the screws and nuts. After making sure I had the frame squarely adjusted, I tightened the screws and nuts. 9. With a pair of wire cutters, cut off the excess of the plastic screws. Next, I used a Dremel with a cutoff wheel to grind the rest of the screw down flush so the dogs wouldn’t scratch themselves on them. 10. Clean the sawdust off the door and install it back on the door frame that you removed it from.
わ**ず
このサイズはなかなかないので助かりました
F**A
Bem construída, leve e fácil de instalar. O mais difícil é fazer a abertura na porta. Vale cada centavo.
P**G
Waardeloos, je betaald je scheel voor een wardeloos ondoordacht stuk plastic met een waarde van 8 euro, als je dan toch goedkope troep wilt kun je beter je slag op Temu slaan, nooit meer.
J**N
Good quality. A bit noisy. Easy to install. Medium is the perfect size for my Yorkie/Maltese mixes. Would probably also suit a dachshund and Jack Russell.
I**O
Easy to install with the write tools. Medium - Perfect for a Spoodle dog . Magnetic flap gets a dirty therefore loses some grip at times. Glad to know replacement flaps are available in future. Recommended product and brand. AAA+
Trustpilot
2 months ago
1 day ago