


⚡ Tiny device, massive coding power — program smarter, not bigger!
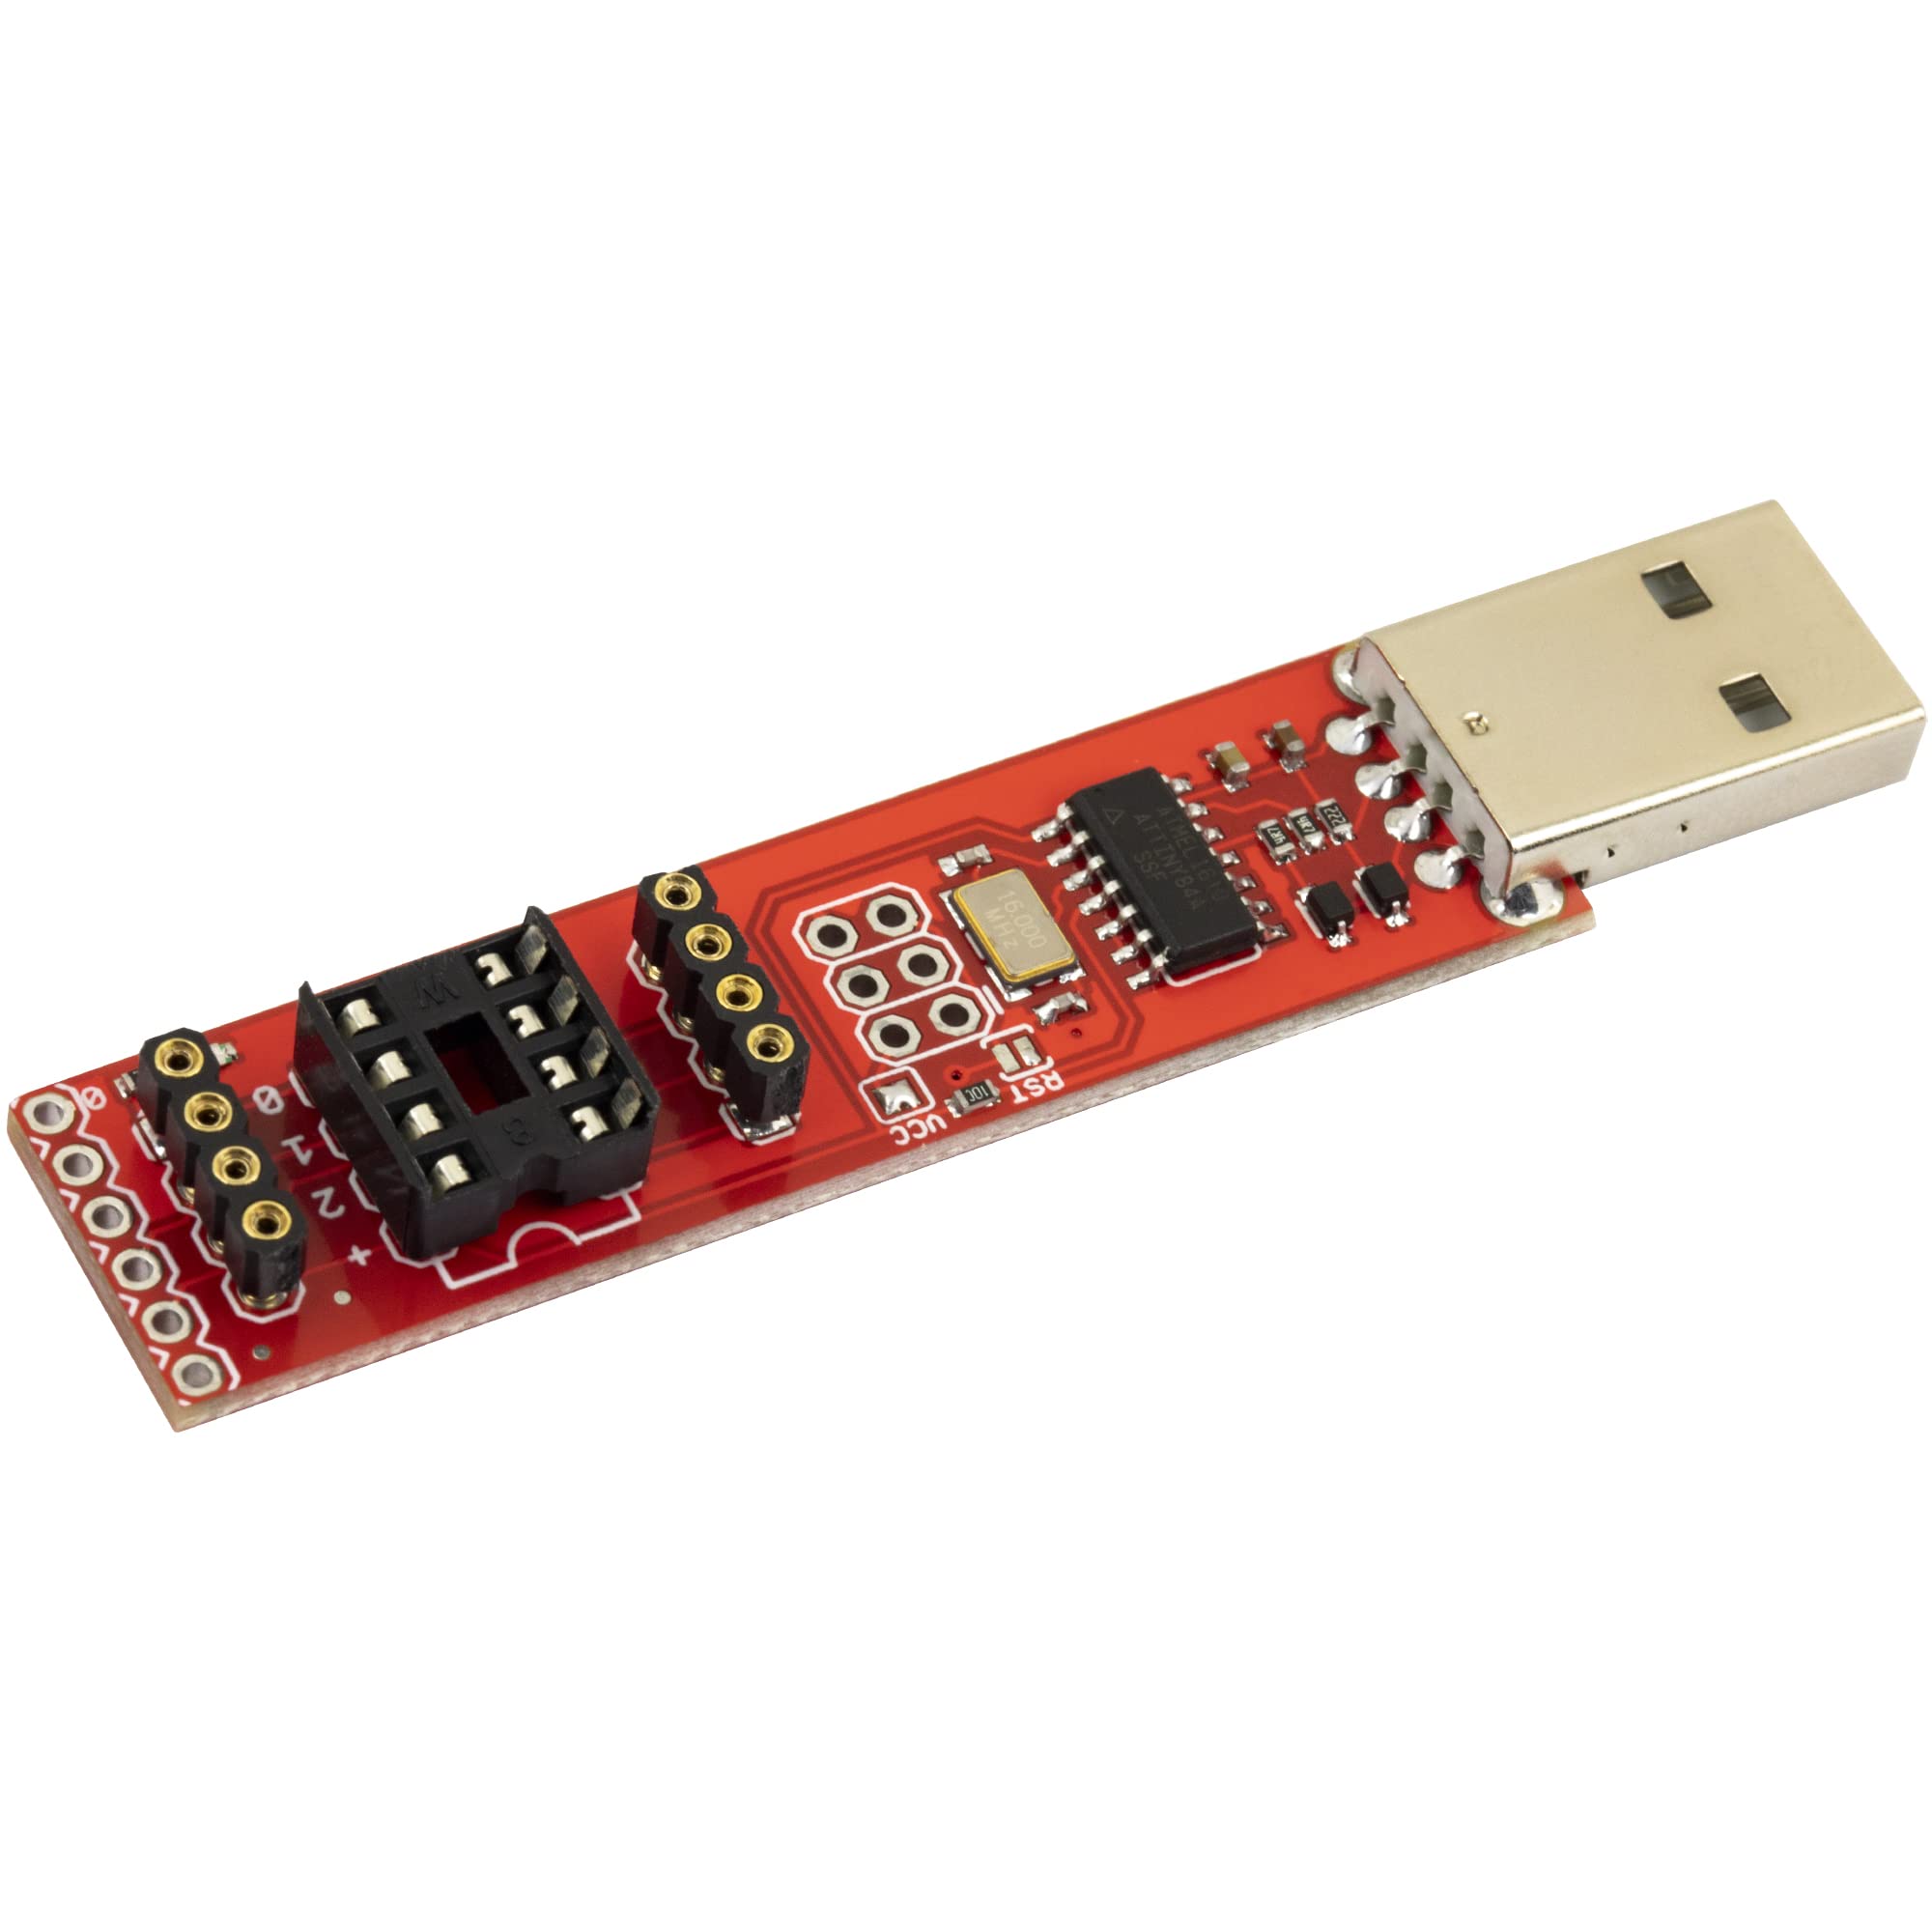
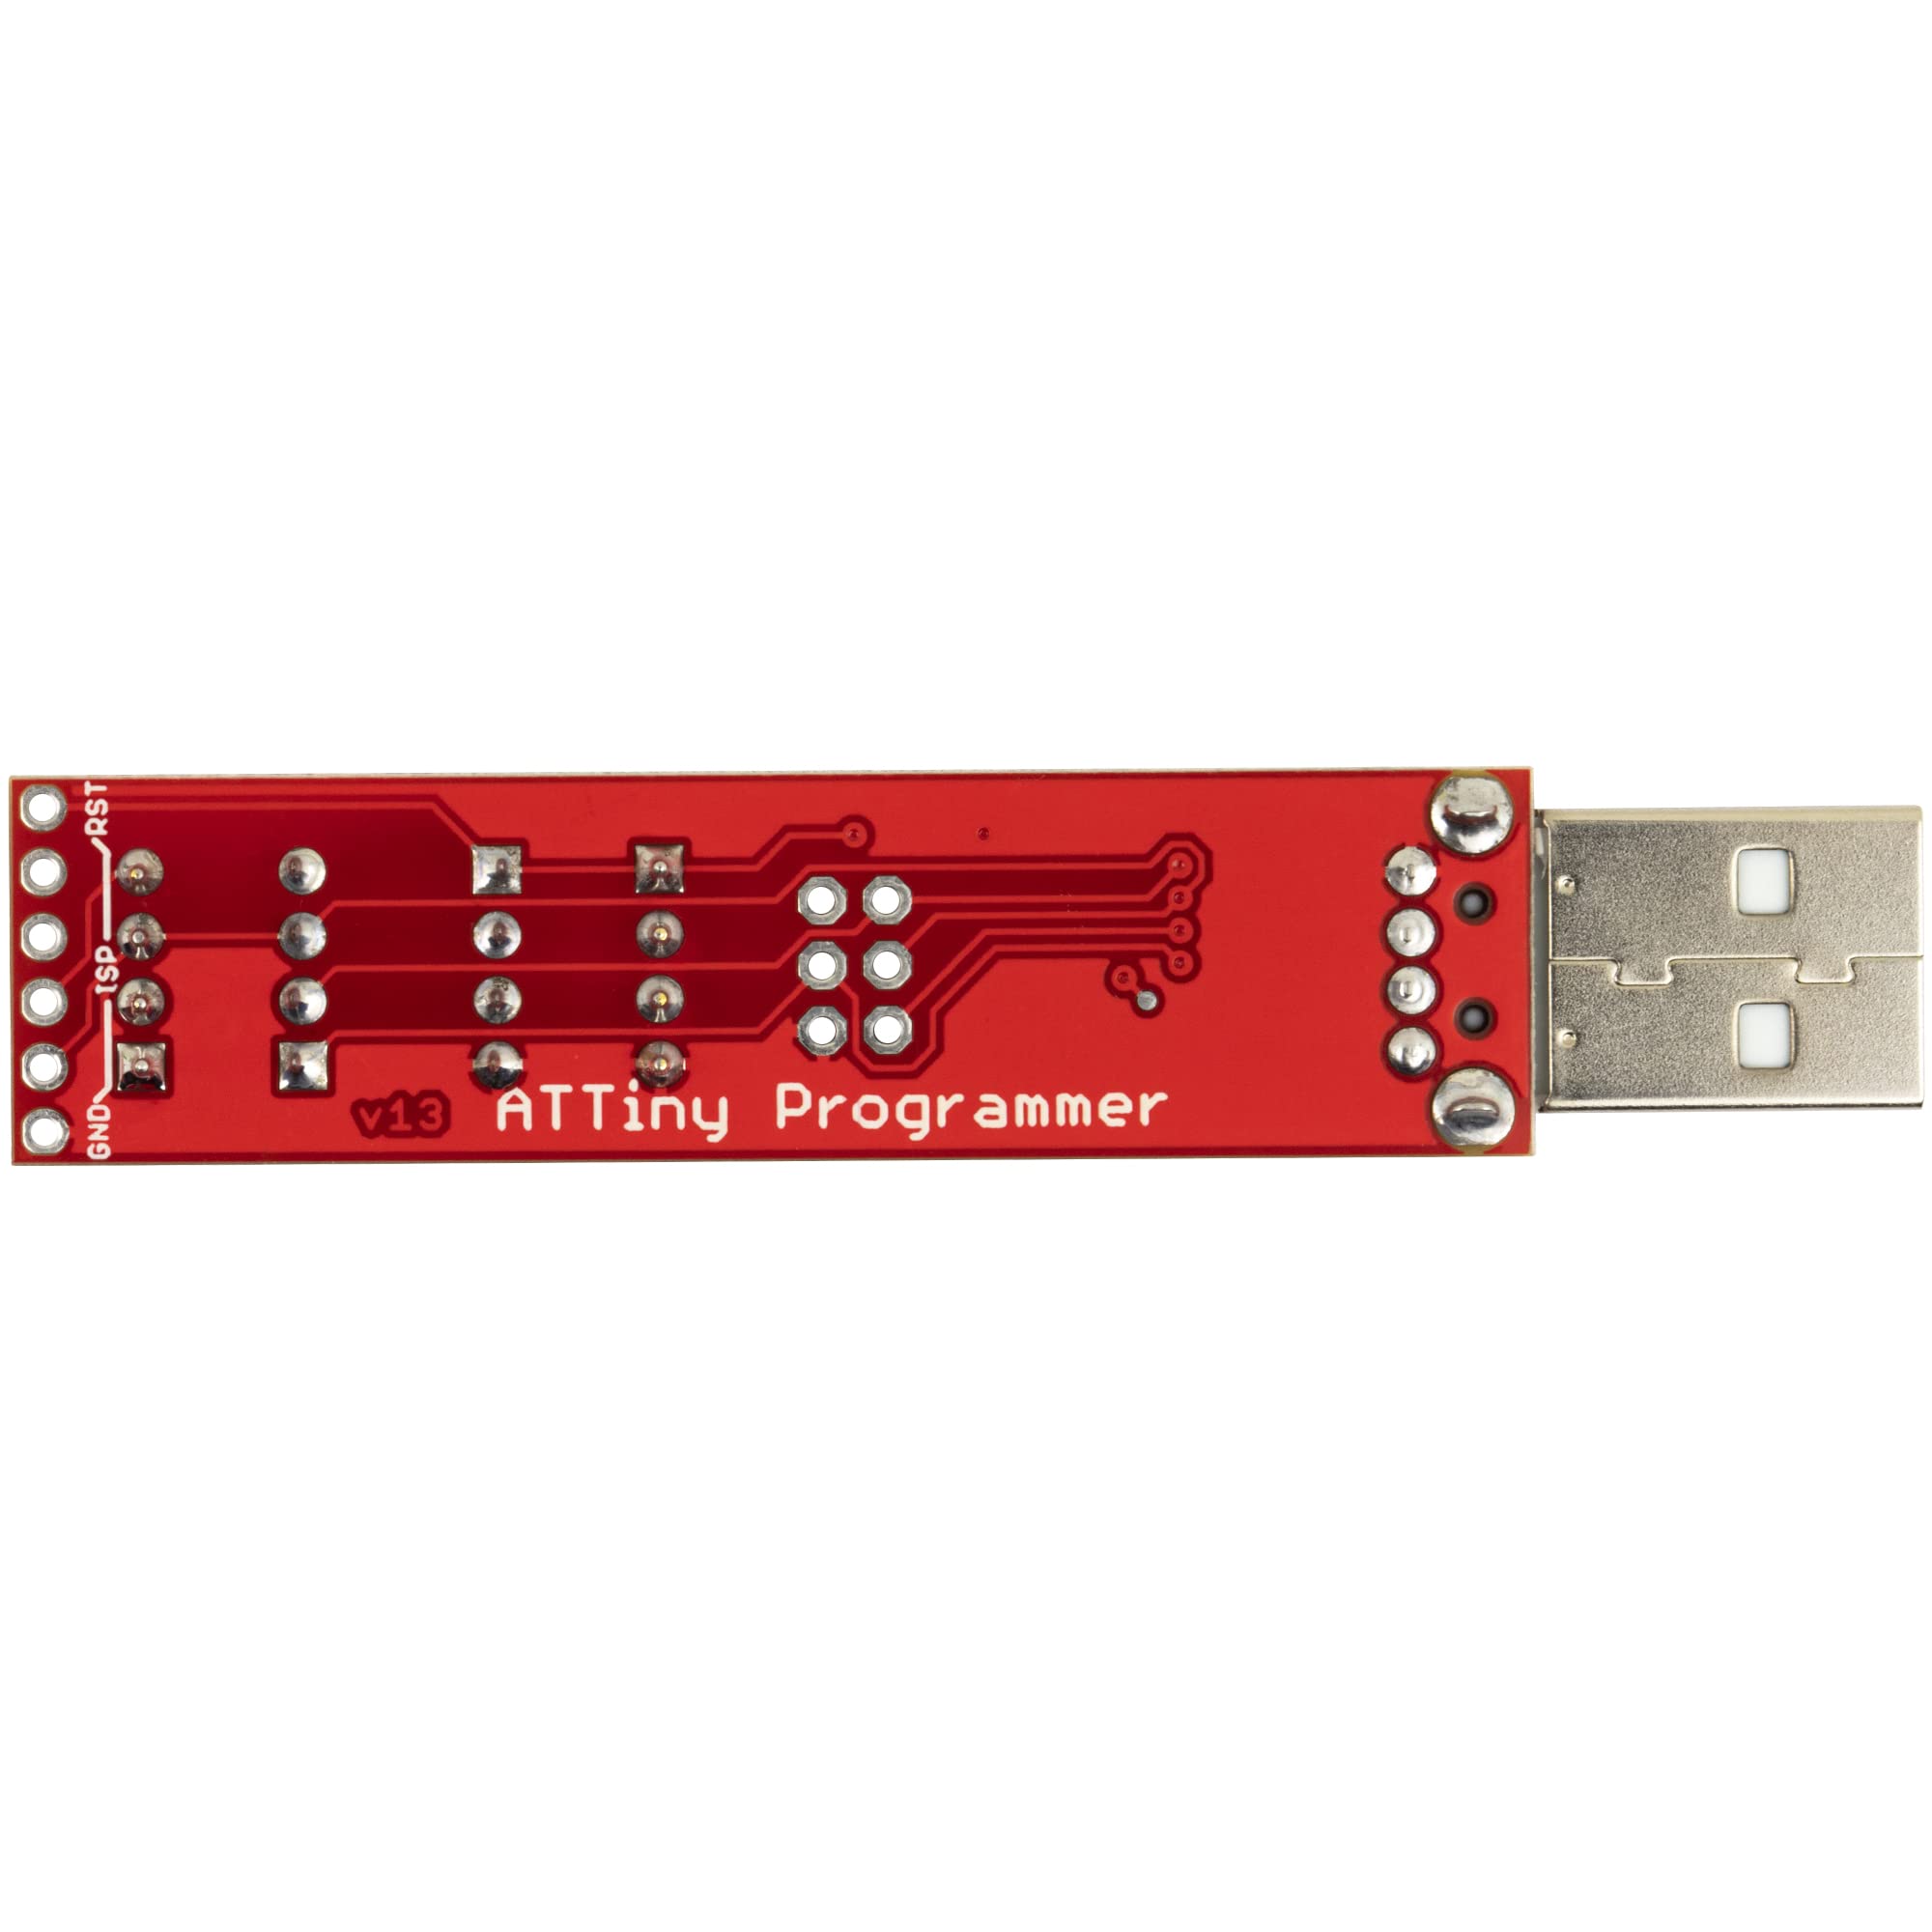
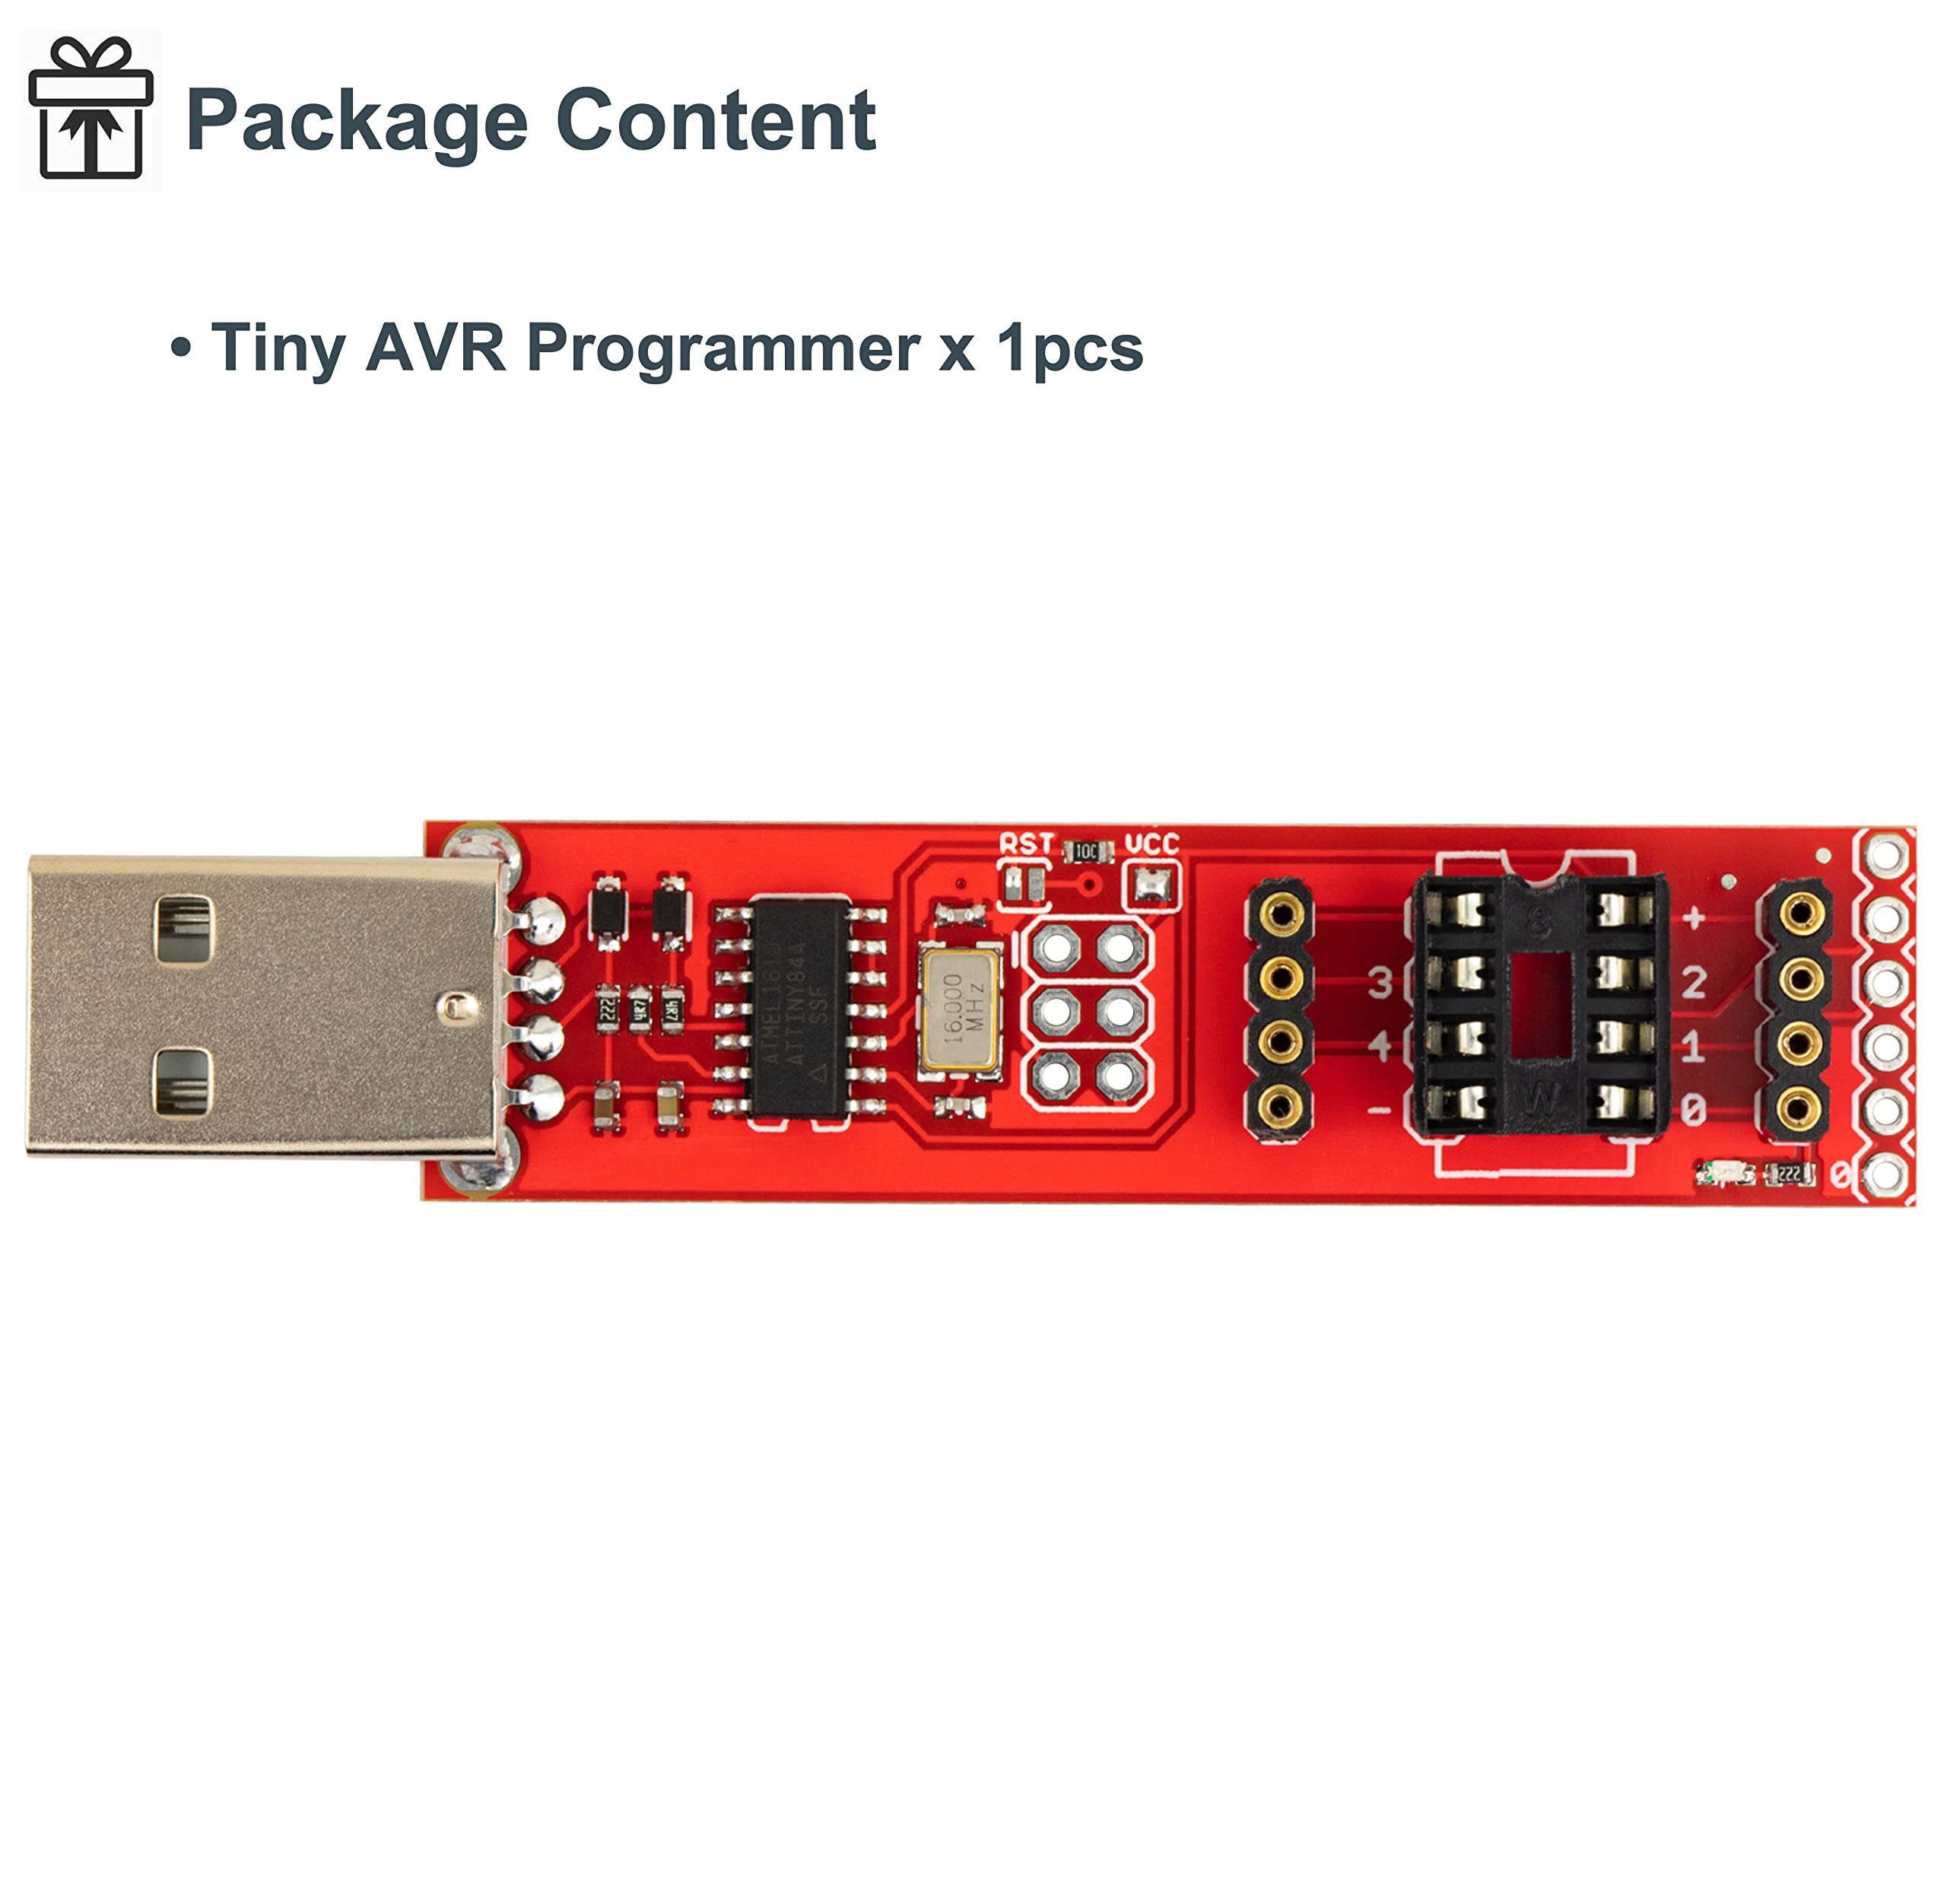
The Tiny AVR Programmer is a compact, professional-grade USB A programmer designed for ATTiny microcontrollers like ATTiny85, ATTiny45, and ATTiny13A. It offers a versatile 3-in-1 solution for programming socketed chips, breadboard prototyping, and in-circuit programming, all in a lightweight 0.275-ounce form factor that fits perfectly into any maker’s toolkit.
| Processor | none |
| Wireless Type | Infrared |
| Brand | naughtystarts |
| Series | Tiny AVR Programmer |
| Item model number | Tiny AVR Programmer |
| Item Weight | 0.275 ounces |
| Product Dimensions | 3.54 x 2.36 x 0.39 inches |
| Item Dimensions LxWxH | 3.54 x 2.36 x 0.39 inches |
| Color | Tiny AVR Programmer (Red) |
| Processor Brand | naughtystarts |
| Number of Processors | 1 |
| Manufacturer | naughtystarts |
| ASIN | B0BK9S6BXN |
| Date First Available | October 24, 2022 |
I**N
Exactly what I was looking for.
Worked on macbook pro 2019, using an usb adapter. No driver needed: Clock at 1Mhz.
P**W
Fast programing on ATtiny85
For a programer it is much faster than using a make shift Arduino board as an ISP to program these ATTiny85 chips. The installation was a bit difficult as you need to get the drivers from the web, but after it has been installed you can push your code directly to the chip and it will be running with relative ease. The PIN numbers on the board coincide with the code numbers in Arduino IDE so you never have to lookup the pinouts again which makes this board very convenient.
T**M
Complicated setup but a great board
One star off for lack of guidance and instructions. The device itself works great once you get it going. Google "sparkfun Tiny AVR hookup guide". At first I made the mistake of only skimming those instructions. Installed drivers and tried to upload through arduino IDE the normal way--not correct. Once you follow the instructions, in Arduino IDE, you need to go to sketch -> upload with programmer.
E**R
Great utility, but mac users beware
In terms of getting set up, D. Porrey's review here is excellent. ATTiny by David Mellis seems to work really well.A super important caveat for Mac users: you may find that this programmer can only work if you connect it through a "USB 2" connection (or older), such as an old hub, or possibly a older usb extension. Plugging this directly into a my M1 Macbook through a USB-C dongle/adapter causes uploads to fail very often (more than half the time), which was deeply confusing and pretty frustrating. This was super difficult to diagnose because it's super inconsistent.Once I switched to a (very) old hub, that sorted it completely: I'm now able to consistently and reliably upload sketches from arduino using "upload with programmer". If there's an error, running the "burn bootloader" menu item sets a bunch settings on the chip, which can resolve issues. I bought 12 ATTiny85 chips in total, and two of them are "bricked" (not communicating correctly, unable to be flashed). Not sure if it was the two that came with the programmer, unfortunately, but pretty sure at least one of them was.Very nice unit when it works, but I bought this specifically because I *didn't* want an hours long goose-chase. Even so, glad I got it sorted now. The unit is solid and thoughtfully designed. It's just a shame about the Usb 3/C issue on mac.
D**Y
Works at 8MHz Only
The ATtiny85 chip is a great (super chip) AVR chip for very simple projects. This is my favorite programmer for this chip. It I easy to use and works every time. The key to this is that you do not program it in the same manner as other AVR chips you are used to, especially using the Arduino IDE.Using the Arduino IDE, you need to first install the ATtiny board. Search the Internet for ATtiny by David A. Mellis and follow the instructions to get the board installed.Place an ATtiny85 chip into the programmer being careful not to bend the pins. Align the dot on the chip to the side of the board with the USB port just above the pin marked 3.If you have a brand-new chip, you first need to select the CPU speed. Select 8MHz Internal from the Tools -> Clock menu (be careful not to choose Extrnal). Next choose Tools -> Programmer -> USBtinyISP from the menu. Then select Tools -> Burn Bootloader from the menu. This will set the clock speed. This step does not write a boot loader to the chip. Check the window for errors. If you get an error check that chip is inserted with the correct orientation and ensure no pins are bent.Load a sketch into the IDE. If you want to test the programmer and chip, use the sketch below which will flash the blue LED found on the programmer.#define LED_BUILTIN 0void setup(){pinMode(LED_BUILTIN, OUTPUT);}void loop(){digitalWrite(LED_BUILTIN, HIGH); // turn the LED on (HIGH is the voltage level)delay(1000); // wait for a seconddigitalWrite(LED_BUILTIN, LOW); // turn the LED off by making the voltage LOWdelay(1000); // wait for a second}Select Sketch -> Upload Using Programmer from the menu to program the ATtiny85 microcontroller. When it completes, the blue LED should be flashing.Note if you try to use the Upload menu option or the upload button on the toolbar, it will fail. The reason for this is that there is no bootloader, nor is there a serial port which is required when using the Upload option.This board is clean, well made and works well. The onboard LED is very bright making it easy to confirm operation.The only issue I had with this board is that it did not work at 16MHz. I did not get any errors while programming, but the LED did not flash. I checked the chip in another circuit, and it did not flash. Programming the same chip with the same sketch using a different programmer made the LED flash which proved there is no issue with the ATtiny.I have a different version of this programmer from a different manufacturer, and it works perfectly at both 8MHz and 16MHz.If you wish to run your ATtiny at 16MHz then this programmer will not work for you.
J**E
help
i cant figure out how to program my attiny85 with it
Trustpilot
Hace 1 mes
Hace 4 días
Hace 1 semana
Hace 5 días